Mix Masters: Drake’s Honestly, Nevermind
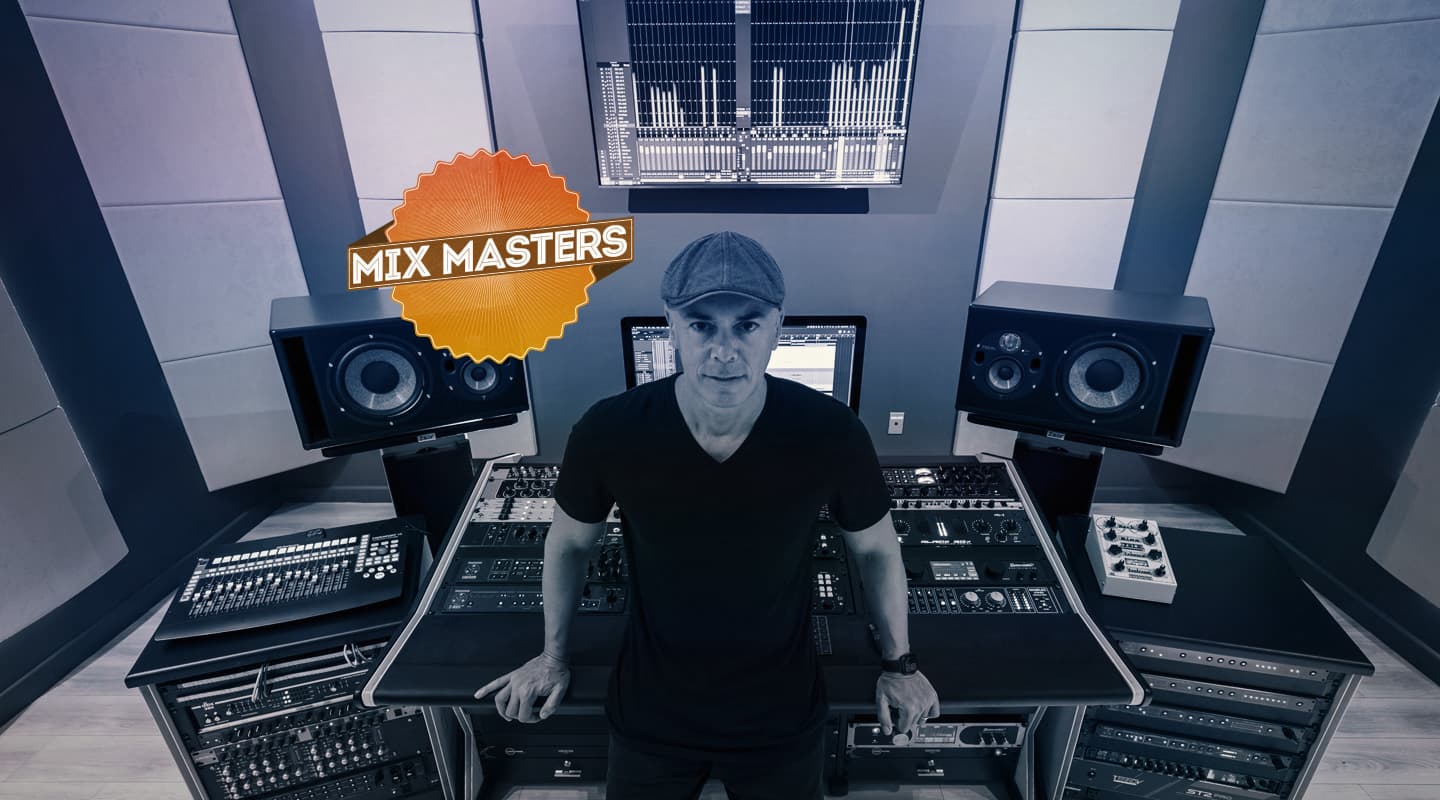
Mixing and mastering engineer, Luca Pretolesi, talks us through his highly individual mix process on his work on Drake’s Honestly, Nevermind project.

Artist: Drake
Album: Honestly, Nevermind
Luca Pretolesi has perfected a highly-developed in/out-the box mix process for dance music that stands out for its clarity, depth and separation, especially with his work on synthesised drums. Speaking from his Studio DMI facility in Las Vegas, he explains how he applied his ‘special sauce’ to Drake’s ‘Honestly, Nevermind’ album. Luca Pretolesi:
Drake has had the same producer, 40, from day one. 40 is also co-owner of Drake’s label, OVO. 40 is a great producer who understands mixing. So I came into Drake’s ‘Honestly, Nevermind’ project where things were done in a certain way and I wasn’t there to shake up the process; I was there to fit in.
They prefer to keep a song open until the absolute last second. You’ll have songs that you’d swear are produced, mixed and mastered, only to have a part replaced right at the last moment. So that’s the mindset.
I worked with 40 in Toronto for a period, understanding how they go about things and figure out how I can fit into their process. I’m on board to bring my mixing expertise to the project. I’m known for being able to provide extra perceived loudness, width and separation into a mix. But I can’t do that sitting next to 40 working on their Pro Tools session.
After a while we developed a flow. 40 would send me a stem, say drums, and ask me what I thought and what I’d do differently. I’d flow that into Studio One and mix it with my gear and approach and send it back. We developed a flow. It’d get to a point where WhatsApp would be constantly pinging and DropBox would be constantly updating.
DRUMS: IT’S THE 808, BABY
‘Honestly, Nevermind’ is a dance album and the biggest songs have input from very different collaborators. The song ‘Sticky’ sees Drake rapping and the drums switch between house beats and hip hop. The song ‘Massive’, sounds totally European… and was a big success in Europe. We used the hit songs as the reference point for the whole album. The point is, it might be a dance album but we wanted it to sound like a cohesive whole, not a compilation album.
A big part of that is the 808. In the US what they mean by ‘the 808’ is the sine wave sub sound under the kick drum. Of course, the term stems from the original Roland TR808 drum machine and its kick drum sound.
The 808 is a challenge because every collaborator will have a different 808 sound and a totally different approach to drums. When I go to mix, I start with the drums, I see it as the foundation of every song, in fact, I’ll probably spend 70% of the time on drums and then 30% on the rest. If always start with the drums, I’ll always start by getting the kick drum sound right. Often producers will layer their kick sound — a top kick, and 808 tail and often another a crunchier kick sound out of FL Studio. If that’s the case I always insist on being sent the individual components. I really carefully make sure all the sounds are perfectly in phase, before I do anything else.
I then have an approach in my Studio One DAW where I’ll bus the drums out to an analogue signal chain that takes up the whole left hand side of my mixing/mastering console. I’ve perfected the signal flow over many years to the point now where I don’t even have to think about it. Studio One’s Pipeline plug-in makes it all possible. Effectively it lassos my analogue summing devices into the session as if it was just another plug-in, without latency.
I now don’t tend to mess with the setting of my drum bus processing/summing, the main lever I have is how hard I push sound into that chain. The manner in which the analogue gear responds, gives it the attitude.

SUM & DIFFERENCE MAKES A DIFFERENCE
I process all my drums using sum and difference rather than stereo. I use an SPL Gemini that does the conversion. I have a couple of old outboard items in this signal path and, initially, I think my motivation for processing in sum and difference was I didn’t know if I could totally trust that gear to process both the left and the right hand sides exactly the same. I didn’t want the left hand side to be half a dB louder, for example. So my entire drum bus signal path is sum and difference, including the SSL G compressor.
Sum and difference is a well known mastering processing technique but not used so much for mixing. The ‘sum’ information is everything that’s in phase, while the difference is what’s not in phase. For the type of music I work with, it’s especially helpful because the technique allows me to more heavily compress the in-phase, centre information, while allowing a reverb tail or a background vocal to have a much lighter touch. On the other hand, if I crush it all with a stereo compressor then I lose my depth in the sound stage, because I’m squeezing the decay time and bringing it up front. Sum and difference allows me to get maximum punch on the mono information while keeping the sides more open.
It’s just another technique that allows you to increase perceived loudness without destroying the depth of the mix. If you’re indiscriminately compressing everything, including reverb tails and HF elements of your mix, it makes your mix smaller and becomes more fatiguing to listen to. You may not even be able to hear 15kHz but if those frequencies are getting squeezed hard, then you feel tired listening to those songs over and over because there’s no dynamic range on the top end. That area is very sensitive to compression, in a bad way.
Sum and difference allows me to get maximum punch on the mono information while keeping the sides more open

DRUMS: BOXING CLEVER
So now when I have the tone or the colour that I’m after, it’s going back in the box. Studio One is doing 90% of the work, but my drums really benefit from what I’m hearing through the analogue transformer saturation, the compression, and the EQ. But I’m making my listening decisions in the box. I’m listening to the Studio One session, post-conversion, back through my mastering console.
I think this is the difference in my approach versus an analogue engineer running channels up through an SSL, for example. I’m using my analogue gear as a ‘soft ceiling’, that I can push into from my DAW. Of course, I need high quality converters so I can trust the results coming out of my DAW. That said, I’m also often using the converters as another stage. I’ll intentionally clip my converter, just to shape the transients a little. That’s part of my sound and another reason why I’m making all my decision post my conversion.


STUDIO ONE: IN THE PIPELINE
Studio One’s Pipeline plug-in is what triggered me to switching DAWs after 16 years on Logic. It was in the middle of a weekend and I getting frustrated with Logic, battling with latency when I was trying to A/B a plug-in. I think Logic has fixed the problems with those functions now, but at the time it was messy.
Someone told me about Studio One and Pipeline (I think it was Steven Slate, actually) and I guess I was desperate enough to give it a go. I wasn’t looking to switch DAWs. The other big ah-ha moment was seeing that I could work with 32-bit floating point files, while at the time Logic wouldn’t let me import 32-bit files, you’d have to down-convert to 24-bit. As I got to know Studio One, the more I was impressed. For about three months or so, I was working on Logic with my daily mixes while continuing to experiment with Studio One. The way it integrated with my analogue gear ended up winning me over.
The interesting fact is with Pipeline you can parallel a piece of gear with the plug-in, all in perfect phase alignment. I can do automation on the mix knob. In fact, you can take a photo and then drop that photo on the plug in when you open a session and it’ll emulate the photo settings in the hardware. So that’s why I was hooked.
VCA MIX TIPS
I do a lot of VCA automation in Studio One. The aim is to trigger my analogue compression and saturation differently for different parts of the song. For example, I want to keep the verses very dynamic. So in the verses I’ll pull back the VCA and let my analogue gear breathe a little more, less pushing. And then I hit in my chorus with more level. Again, there are knock-on and compound effects down the signal path by making small VCA moves.
WIDTH
If you mix wide — where you’ve got a stereo widening processor on everything that’s not mono — then it’s not going to sound wide after about 30 seconds, because now everything is so out of phase that you don’t feel it being wide. To me, it’s all about contrast. It’s like watching a black and white movie, and you get a flash of red and yellow. The contrast is striking. If everything is pumping red and yellow the whole time, you zone out. Which is why I stay extremely mono on drums, but then I do something like a ‘tree’ effect, where stereo element open up and out using chords and synths, growing wider… then close again. It’s more like a dynamic approach to stereo instead of a static super wide approach that loses its impact.
It's more like a dynamic approach to stereo instead of a static super wide approach that loses its impact

808 SECRETS
Nailing the kick drum sub sound, the 808, can be really frustrating. Producers commit to a sound when I get to hear it and often it’s produced in studios that can’t accurately reproduce what the 808 is actually doing. I see a few common mistakes. One is tuning the 808 in the wrong key. Or the 808 is tuned too low. If its fundamental is at 30 or 38Hz then there’s not enough low-mid information for it to translate on smaller speakers. So I recommend you pick the right key — that’s the most important element.
I previously mentioned a few other tips about dealing with the 808, but I’ll finish off with a well known example.
There was a track called ‘Turn Down For What’ (2015) for DJ Snake and Lil John and everyone was just raving about my processing on the 808. The sound of the 808 was literally a multi-band compressor saturating the second octave only. So you have the attack of the 808, let’s say, 55 or 60Hz, which I leave alone, completely clean. That’s the sine wave component, and I don’t want to change its texture — I’m not going to turn it into a saw tooth or triangle. But an octave higher than that, with the tail, then I start to saturate that part. It means you can hear the 808 envelope on small laptop speakers, but you retain the bottom-end clarity — you get a clean envelope of the sine wave on the first octave under the kick.


RESPONSES