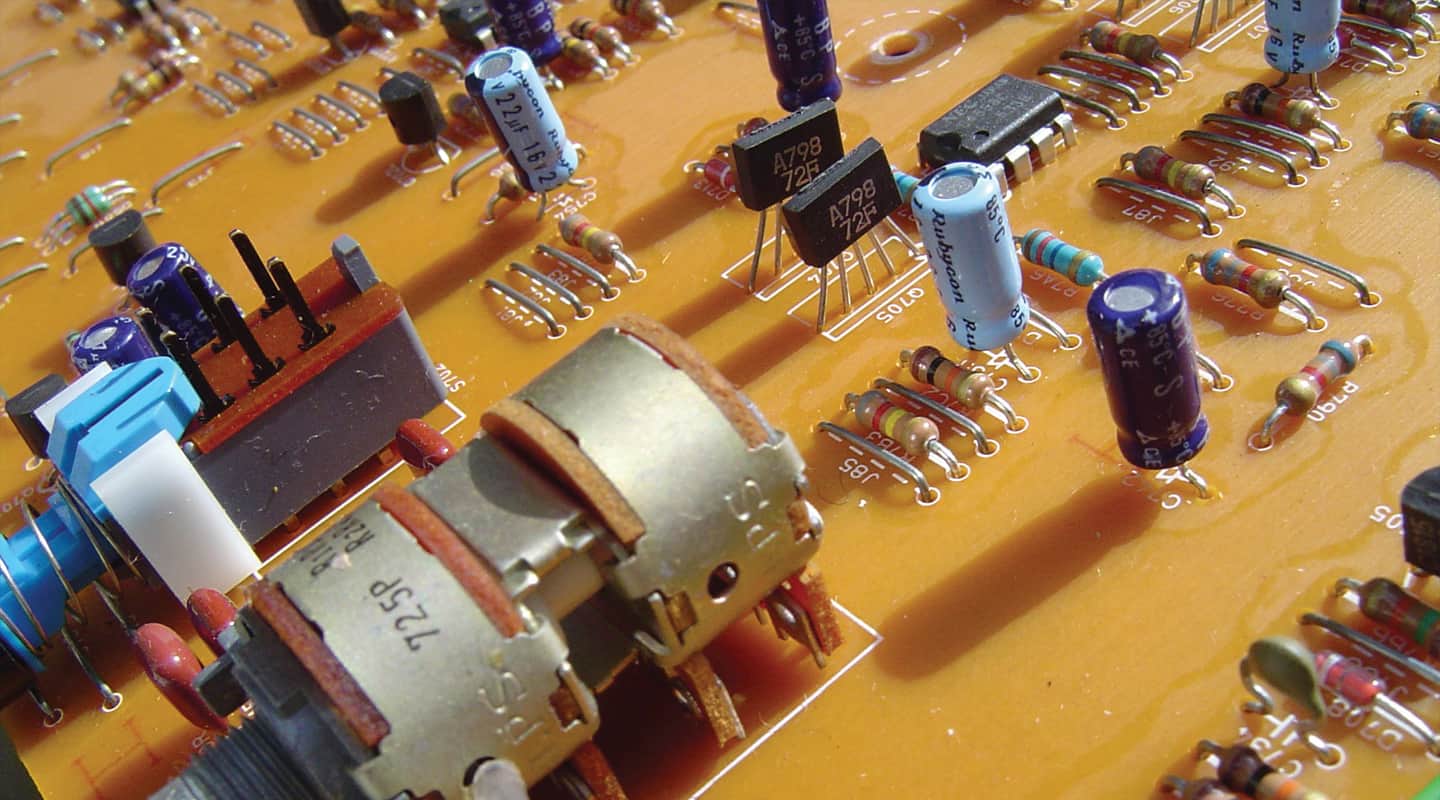
On The Bench: My Doo Dad Doesn’t Work
The majority of audio practitioners wouldn’t know one end of a soldering iron from the other – until they reach out and touch it! If you’re in that category, it’s time to get in touch with your inner tech.
Text: Rob Squire
My car has been giving me an enormous amount of grief over the last month. It has one of those problems that fills every technician’s heart with dread… an intermittent fault!
I spend a lot of my week fixing audio equipment these days, rather than cars. I gave up on skinning my knuckles and getting covered in grease years ago. Nowadays, I happily handball my car to Jimmy the mechanic for repairs and a regular service. So when I recently decided to head bush for a week to clear the solder fumes from by brain, I got Jimmy to give the car its big annual service. Jimmy did his thing and I headed off confident…
But my travel plans soon came to grief. Despite all my good intentions and careful preparations, while travelling on some dirt road in the middle of nowhere the car broke down and a nightmare situation loomed large in front of me. The engine was running – sort of – but it wasn’t happy to do anything much beyond a staggering idle. It was going to be a very slow drive to the nearest town, so I got onto roadside service and eventually a mechanic showed up. And it’s at this point that things got interesting. There was the car – engine running, miss-firing – with all the symptoms of its current problem on display. The mechanic leans in under the bonnet and simply rests his hand on the rocker cover… immediately the problem is gone and there’s nothing he or I can do to bring it back. He had simply laid his hands on my car and seemingly cured it! Was it a miracle? I wasn’t convinced…
I’ve lost count of the number of times, as an electronics tech, that I’ve done a similar thing – been called to a studio in the middle of the night because ‘the console’s stopped working and we have to finish tracking tonight’, walked in the door, approached the offending console, given it a studied look and suddenly everything is all go! One local studio has asked if they can have one of my spare coats – they figure that maybe if they just something of mine hanging on a hook in the studio, it’ll be sufficient to keep the studio running perfectly!
Anyway, back to my car. It wasn’t cured, of course, and over the next few weeks it continued to play-up intermittently. On a couple of occasions, as I was limping it across town to Jimmy the mechanic (so he could see the fault in action) it would all come good… literally as I turned into his street!
Now, as I write this, the car is back in the driveway and we reckon the problem has been nailed. Want to know what was wrong? It hurts me to say this… but it was a ‘scratchy pot’ – some rotating sensor (basically a pot) was dirty. A bitter pill to swallow for a tech! (There’s something I could say about karma here, but I won’t).
‘BROKEN’ EQUIPMENT
The question ‘why does my equipment break down when I need to use it?’ is one that’s regularly posed to me by my clients. My usual response is: ‘If you don’t use something it won’t break, and therefore if you do use it, it will break.’ Not very helpful I know but funny at times…
But in all seriousness, while I certainly don’t think everyone who owns a studio, or for that matter a bunch of audio gear, should feel obliged to become an electronics technician, having a basic understanding of how to troubleshoot and perform simple repairs is a useful skill to have up your sleeve.
So, here are some very basic pointers to start us off.
POWER
If your equipment needs power, it ain’t gonna work without it. This is always the starting point for repairing any faulty equipment.
Plug packs: If a device that draws power through a plug pack (or ‘wallwart’) isn’t working, check to make sure you have the right plug pack for the unit for starters. Plug packs are not all created equal, and have three basic parameters: AC or DC, voltage and current capability. Good manufacturers label the power socket with the specifications of the plug pack required, some don’t. If you have a plug pack-powered piece of equipment (try saying that 10 times fast) that doesn’t label the socket with all three of the above parameters, then while you have the supplied pack on hand, see if these details are written on the unit itself, because one day you’re going to lose that plug pack and walking into your local electronics shop with your unlabelled device and asking for one to suit it won’t get you very far. If you have one such unit and it seems ‘not to be powering up’, checking the power supply is the best starting point.
MULTIMETER 101
Get a multimeter! Every studio should have a multimeter and you can get one that’s perfectly usable for $10. This is where you need to know if the plug pack you’re testing is AC or DC and set the range of the multimeter appropriately. Typically, a working plug pack will often read a voltage that’s a bit higher than its label claims – 13 to 15 volts is a common reading from a 12V pack.
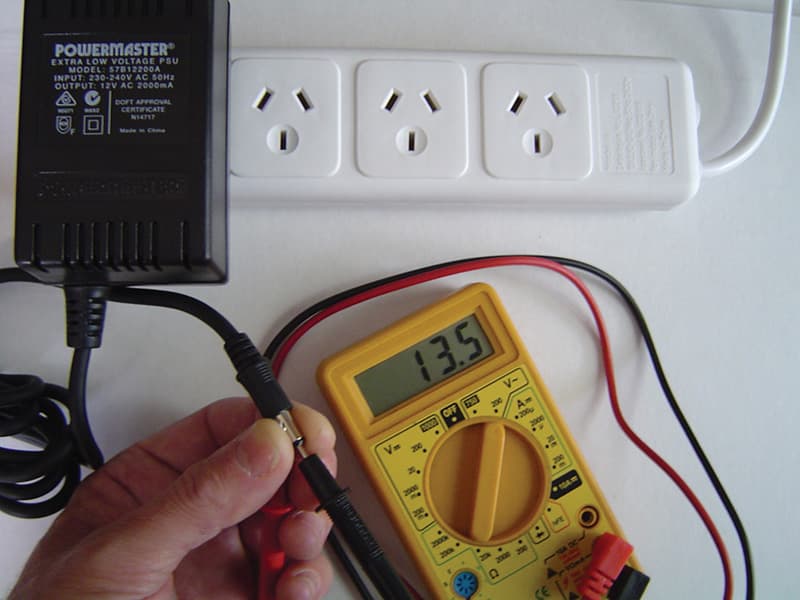
If there’s an intermittent fault in the cable, flexing the cable – particularly from where it emerges from the plug pack and enters the connector – will cause the reading on the meter to jump around. If this happens, you know you have a dodgy lead.
MAINS EQUIPMENT
Before we get started, a word of warning. Any equipment that runs off mains power is potentially dangerous and should be handled with extreme caution at all times. Always disconnect equipment from the mains socket before opening the lid or checking fuses.
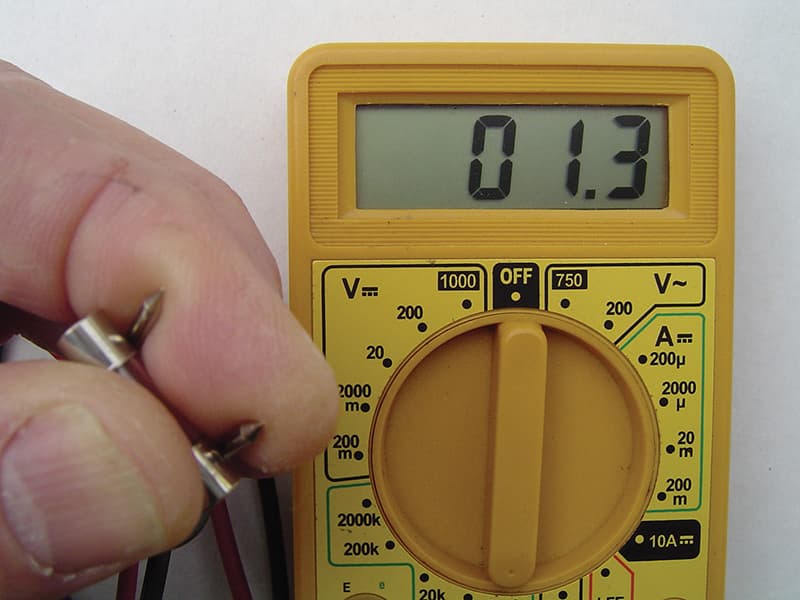
For equipment with either an IEC mains socket (‘kettle cord’) or a fixed cable, checking the fuse is your starting point. Most currently produced equipment with an IEC socket contains the fuse within the body of the IEC socket itself. A small flat-bladed screwdriver can be used to flip open the fuse drawer to reveal the fuse itself. A visual inspection of the fuse will not always show if the fuse has blown – enter the multimeter once again. Grab the multimeter and test the fuse for continuity. Using the lowest Ohms range, a good fuse should measure close to 0Ω.
But like any other component, fuses can fail of their own accord and a failed fuse is not always an indicator that there’s any other fault present beyond the fuse itself. If the fuse has a glass body – and most do – a lack of any brown discolouration on the inside of the glass usually indicates that either the fuse has given up all by itself, or if there is a fault in the unit that’s caused the fuse to blow, it’s a minor overload. A fuse with a brown or silvery film on the inside of the glass however, is usually an indicator that something within the unit has failed in a fairly catastrophic manner.
FUSES AIN’T FUSES
Of course, if you need to replace a fuse, it must be of the correct type. There are two common physical fuse sizes: the M205 (this is the size found in IEC sockets) and 3AG. Fuses can also have a fast or slow response to an overload as well as the actual current rating at which they will blow. It’s most important that if a unit requires a slow-blow fuse, you replace it with a slow-blow fuse. Almost invariably a fast-blow fuse inserted where a slow-blow is specified will blow on power up, maybe not the first time you turn it on, but eventually. Slow-blow or ‘time delay’ fuses are very commonly used and are indicated with a ‘T’ on the fuse end cap, and where a manufacturer labels a piece of equipment with the specified fuse the ‘T’ symbol should appear. Keep in mind that some equipment may also contain internal fuses as well as an externally accessible fuse and it’s worth checking these too before you give up and send a unit out for repairs.
DICKY SOLDER JOINTS
Where connectors of any type are soldered directly to circuit boards, a point of common failure can often be found – this is sometimes known as a ‘dry joint’. As the solder joints provide the physical mounting for the connector as well as its electrical connection, the stresses of plugging into and out of certain equipment can eventually break a solder joint. (This also applies to pots mounted on circuit boards.) Accessing the circuit board to get to these solder joints ranges from straightforward to mind-bendingly difficult. A few minutes with a screwdriver will give you some idea if this is something you can pursue or pass on to a technician. Usually, simply inspecting the solder joints will show if there’s a bad connection. Look for either cracks in the solder, a gap around the pin of the connector, or solder that looks dull.
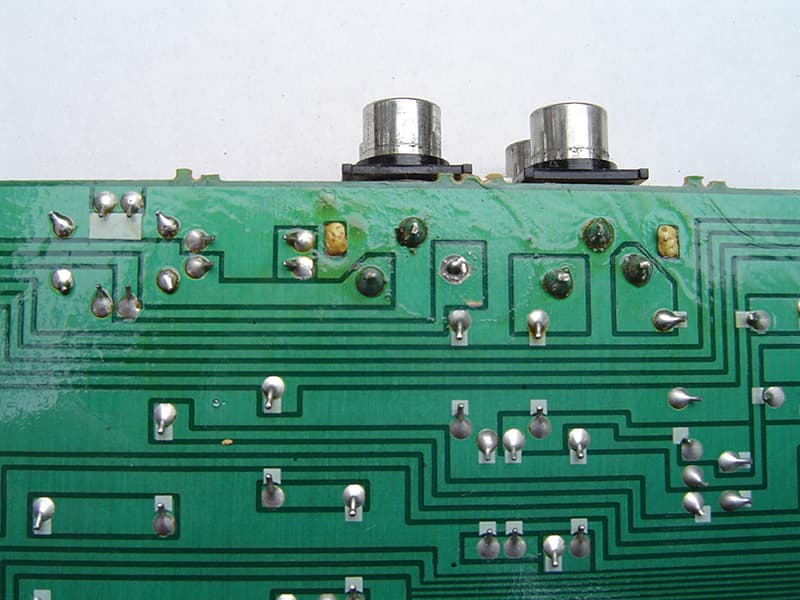
If you’ve found a dry joint and you intend to fix it yourself, it’s best to clean off any existing solder first by using either a de-soldering tool or solderwick before re-soldering anything. There’s lots of information available on the web on solder tips and techniques, so look them up.
SCRATCHY POTS & SWITCHES
Different brands and types of pots and switches have stood the test of time with varying success. It’s not necessarily price either that determines what lasts and what doesn’t – the initial cost of a part isn’t always proportional to the part’s reliability. Most pots that have become scratchy, whether they were cheap or expensive, respond well to cleaning and lubricating with a suitable cleaner (like cheap and expensive cars!) although accessing the internals of a pot in order to squirt some cleaner into it varies. If the pot is an ‘open’ style, then squirting a small amount of cleaning fluid into the unit (one of those ‘less is more’ situations) and rotating the pot back and forth a number of times will usually cure the problem. If the pot is sealed then, if you’re lucky, you can dribble some contact cleaner down the shaft of the pot to get enough inside to affect a cure. This can often require repeated attempts to get sufficient amounts of fluid into the pot.
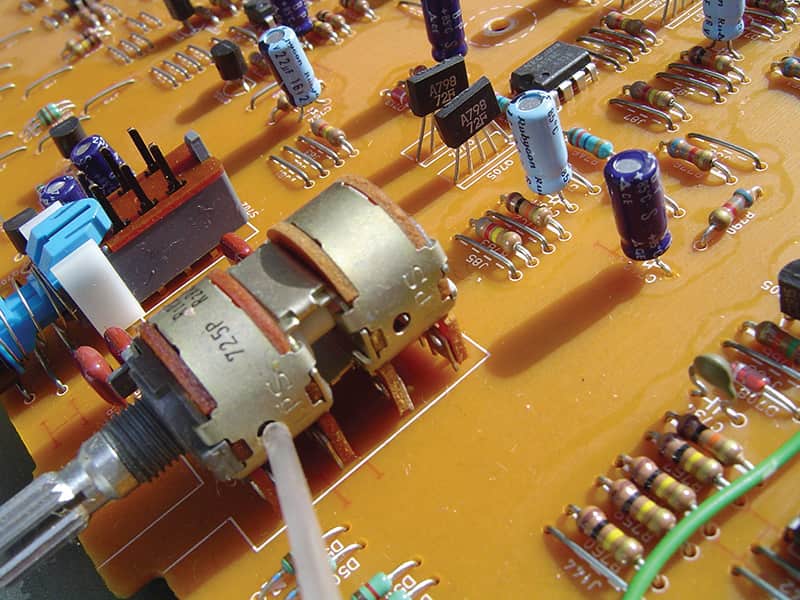
Likewise, access to switches for cleaning varies, but due to the penetrating nature of spray contact cleaners, it’s usually possible to get cleaner into the mechanism. Once again, toggling the switch a number of times immediately after squirting in the cleaner is important – don’t forget: the cleaner needs you to work with it to affect a solution!
There are quite a few different contact cleaners on the market; some more suitable than others. Most switches respond well to Caig’s Deoxit D5 and the same company’s Cailube is very good for pots and faders. Electrolube’s EML200F is also quite good, and, because of its lubricating properties, can be used on pots. A lot of equipment manufactured in the UK and Europe in the 1980s (Neve, SSL etc) used a brand of switch called Dialstat. These switches are very prone to developing poor contacts and will only respond to EML200F… and sometimes (sadly) not improve at all. So, try cleaning just one or two pots or switches with a particular product to check the results and ensure that you aren’t causing any other problems. Contact cleaning residue left behind on circuit boards doesn’t cause any problems except with very sensitive circuits such as those found in condenser mics.
At some point in time you’ll need to call on an electronics technician. Experienced pro audio techs are something of a dying breed, so locating one and developing a good working relationship will cover you for that day when it all goes pear-shaped and you need your studio working because “the console doesn’t work at all and we have to finish tracking tonight!”


RESPONSES